
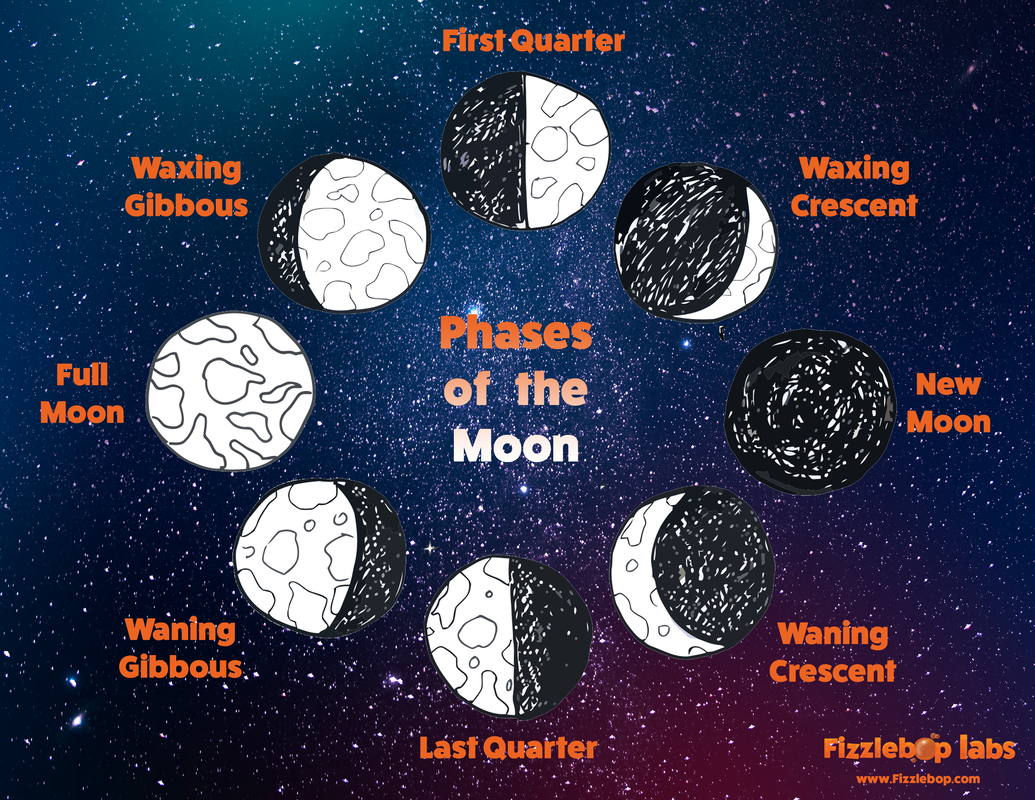
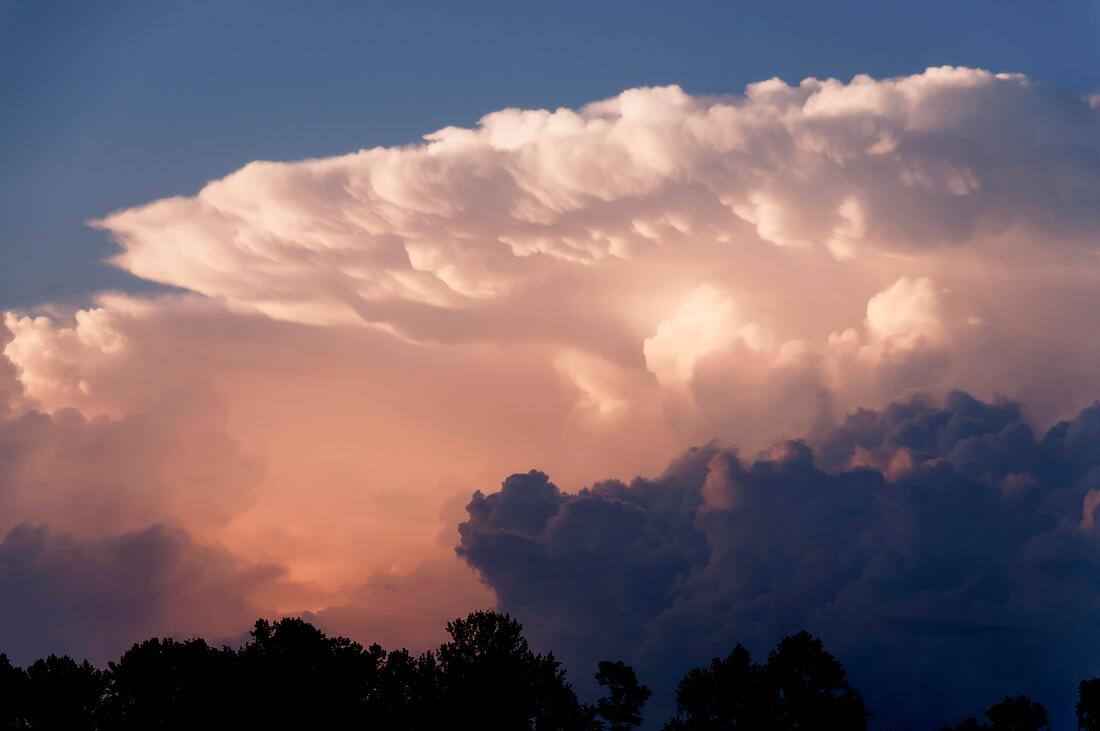
Phases of the Moon
Introduction
Fizzlebop Supply List
- Package of Oreos
- Spoon
- Oreo Cookie Moon Phase Guide (below)
The Experiment
FIZZ TIP: If your frosting sticks to both sides, you’ll need to eat the cookie and try again.
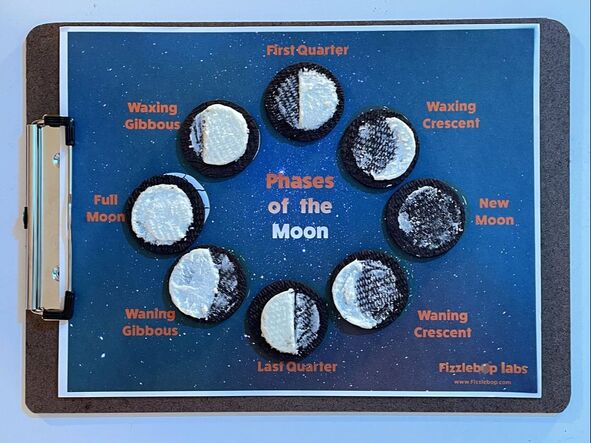
2. When you have one side with a majority of frosting, use the spoon to scoop away frosting according to the Oreo Cookie Moon Phase Guide.
3. Arrange the cookies in the order of the Oreo Cookie Moon Phase Guide and observe.
FIZZ TIP: If it’s nighttime, look outside and see what phase the moon is in right now.
4. Eat your moon phases and enjoy!
Fizz Facts
Collecting Your Family’s Data
____________________________________________________________________________________
Which Oreo cookie moon phase tasted best?
____________________________________________________________________________________
Popsicle Stick Boat
Introduction
Take on this FIZZ EXTRA and build your very own Popsicle stick boat. We’ve laid out three levels of difficulty for your family to try. And when you finish, see which constructions work best on the open water (a pond or pool) and which are best for moving water (a stream).
WARNING! This experiment requires scissors. Safety first! And like many of our experiments, it can be messy, so make sure to protect the area where you are working.
Fizzlebop Supply List: Raft (Easy)
- 12 jumbo craft sticks
- 1 standard craft stick
- Glue
- Paper for the sail
- Crayons
- Scissors
The Experiment
- Lay seven jumbo craft sticks flat and side-by-side.
- Remove the second, fourth, and sixth jumbo craft sticks from the row. Set them aside for the moment.
- Squeeze a line of glue down the length of each remaining jumbo craft stick.
- Next build half of the boat’s deck. Starting at one side, place four jumbo craft sticks perpendicularly across the jumbo craft sticks with glue. These craft sticks should be close together with no gaps.
- Now, take the standard craft stick (the boat’s mast) and stand it up vertically with the flat side against the deck sticks. This will give you a thin space between the next four jumbo craft sticks (other half of the boat’s deck).
- While holding the standard craft stick in place, lay four more jumbo craft sticks tightly together to complete the deck of your boat. You can set your standard craft stick to the side for a moment.
- Create your sail by cutting your paper into a triangle or square and color it with designs and your initials or favorite number.
FIZZ TIP: Match the cut-out up to your boat to make sure it’s not too big.
8. Squeeze some glue on the top half of your standard craft stick and attach the sail to the center.
FIZZ TIP: Let the glue attaching the sail to the standard craft stick mast completely dry before attaching the mast to the boat.
9. Squeeze a bit of glue on the lower tip of your standard craft stick (the boat’s mast) and insert the stick into the space between the two halves of the boat’s deck. This should be a tight fit.
10. Now it’s time to set sail and observe.
Fizzlebop Supply List: House Boat (Challenging)
- 22+ standard craft sticks
- 1 wooden skewer
- Glue
- Paper for the sail
- Crayons
- Scissors
- Hole punch
The Experiment
- First, take twelve craft sticks and set them down side-by-side.
FIZZ TIP: You have created the base for your boat. The width of the twelve craft ticks side-by-side should be as long as a craft stick
- Next, Squeeze a line of glue down two craft sticks. Lay one stick across the ends of the twelve sticks, and lay the second glued stick across the opposite ends of the twelve sticks.
FIZZ TIP: These two sticks will help hold the base of your boat together.
- Put a dot of glue on the four ends of the two sticks you just laid down.
- Take two more craft sticks and attach them at the points where the glue dots are. These two craft sticks should be running parallel to the craft sticks in your base.
- Now, add more glue on the ends of those sticks and connect them with two more craft sticks going the same direction as the two you glued on the ends of the base of twelve.
- Continue gluing at all four corners as you add additional layers. Build as many layers as you like.
FIZZ TIP: We recommend between five and seven layers.
- Once you are finished building the sides, it's time to create the sail. Create your sail by cutting your paper into a square and color it with designs and your initials or favorite number.
FIZZ TIP: Match the cut-out up to your boat to make sure it’s not too big.
- Use the hole punch to create a hole at the top and bottom of your sail.
- Then slide the wooden skewer through each hole.
- Squeeze a bit of glue on the bottom tip of your wooden skewer (the boat’s mast) and insert the stick between the two halves of the boat’s deck.
- Use a generous amount of glue to position the wooden skewer in between two of the standard sticks on the bottom.
- Once all your glue has dried, it’s time to set sail!
Fizzlebop Supply List: Speed Boat (Expert)
- 17+ standard craft sticks
- Glue or super glue for a stronger hold
The Experiment
- First, we will create our boat’s base by setting seven standard craft sticks down angled diagonally
FIZZ TIP: The base should create a diamond shape and a standard craft stick should fit across the ends of the seven sticks with no overhang.
- Glue two sticks across the ends of the seven base sticks and let dry.
- Put a dot of glue on the four ends of the two sticks you just laid down.
- Take two more craft sticks and attach them at the points where the glue dots are. These two craft sticks should be running parallel to the craft sticks in your base.
- Now, add more glue on the ends of those sticks and connect them with two more craft sticks going the same direction as the two you glued on the ends of the base of seven.
- Continue gluing at all four corners as you add additional layers. Build as many layers as you like.
- FIZZ TIP: We recommend between five and seven layers
- Once the glue is dry, take the boat out to set sail!
FIZZ FACT:
Collecting Your Family’s Data
____________________________________________________________________________________
Which boat worked best on open water?
____________________________________________________________________________________
Which boat worked best on moving water?
____________________________________________________________________________________
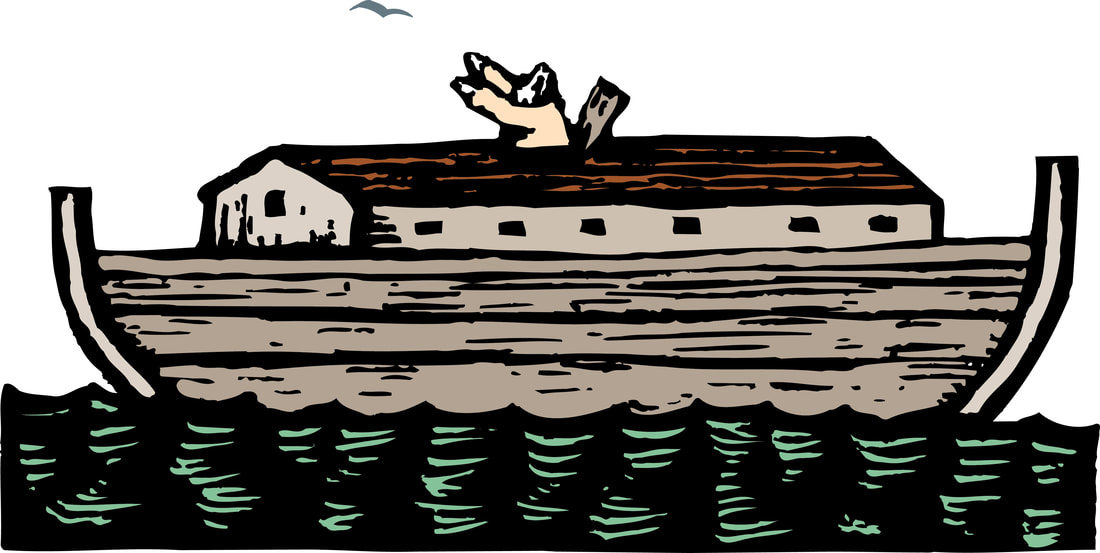
Want even more Noah's Ark fun for your kids?
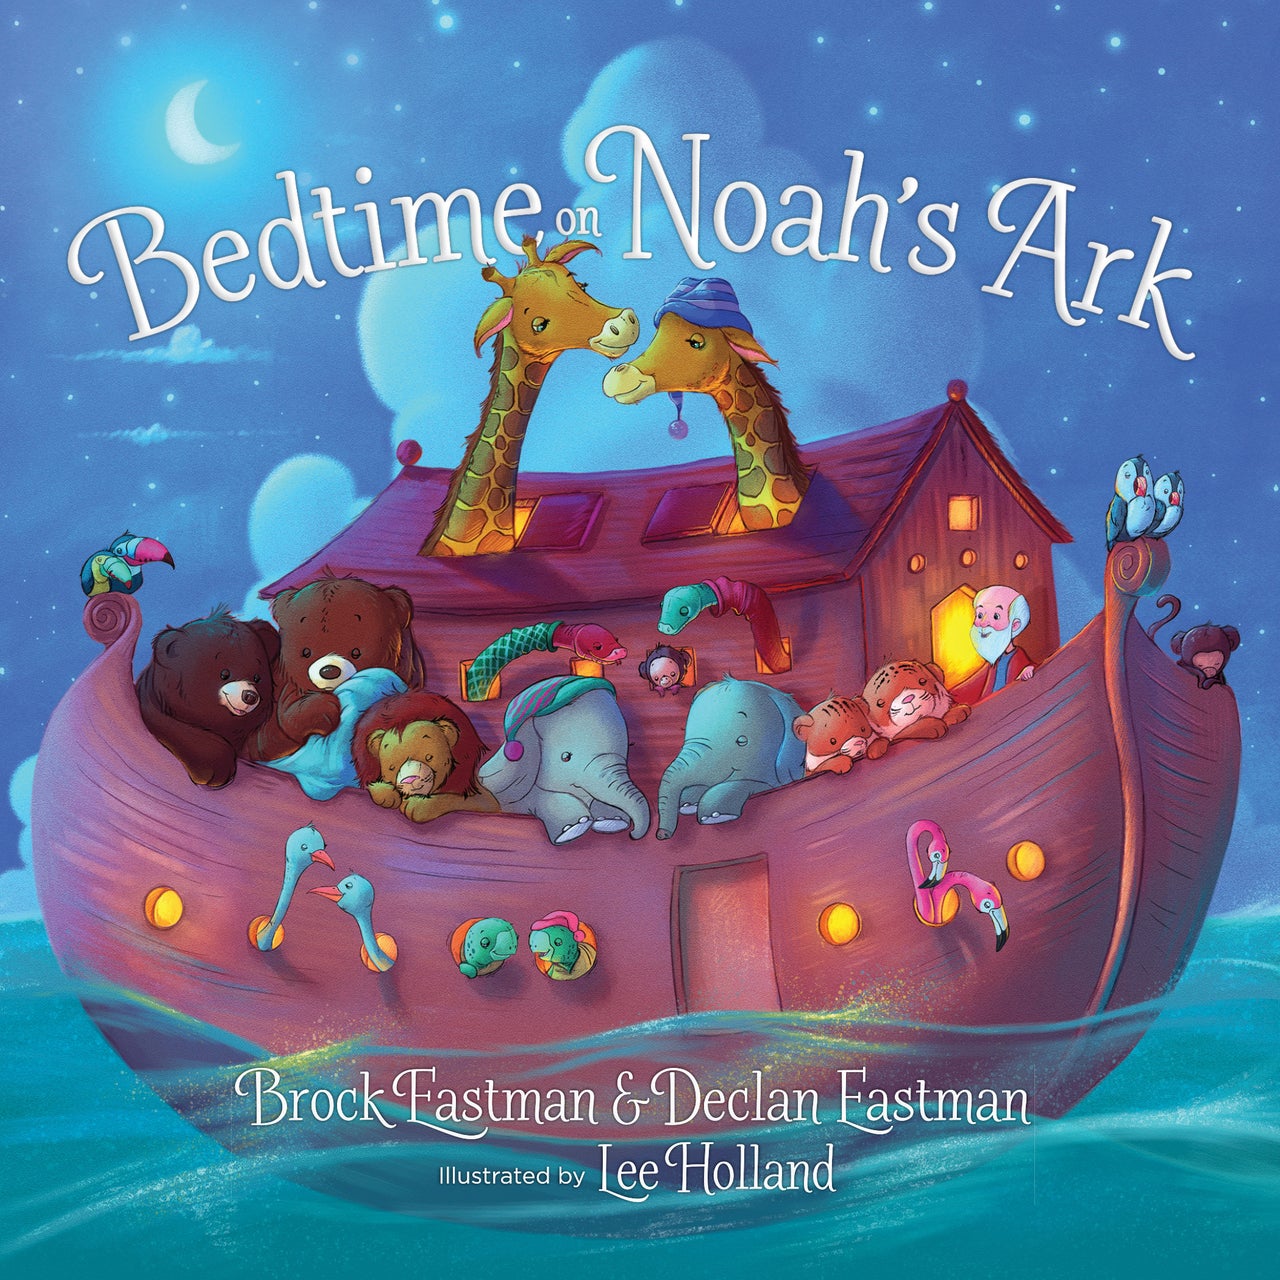
Introducing "Bedtime on Noah's Ark: It’s Time to Catch Some ZZZ's on the Open Seas"
🌙 Sail into Dreamland with Noah's Ark Adventures! 🚢
Embark on a delightful bedtime journey with our enchanting board book, "Bedtime on Noah's Ark." From the majestic aardvarks to the lively zebras, every animal on the ark is ready to unwind and catch some peaceful ZZZ's after a day of adventures.
🌈 A Colorful Adventure Awaits:
Dive into the vibrant world of Noah's Ark, beautifully illustrated to captivate your little one's imagination. The pages come alive with cheerful animals, making bedtime an exciting and engaging experience.
🌜 Nighttime Regimens with Noah's Adorable Shipmates:
Join the animals as they prepare for a restful night. From monkeys scrubbing to elephants rinsing off, your child will giggle and learn valuable bedtime routines. Watch as bunnies wash behind their ears and other adorable shipmates showcase their nightly rituals.
📖 Bible-Inspired Sweet Dreams:
This heartwarming story is inspired by the timeless tale of Noah's Ark, infusing bedtime with a touch of biblical charm. It's a perfect way to introduce your little one to important values while creating a soothing bedtime atmosphere.
🌌 Acclimate to Bedtime Bliss:
Help your child acclimate to their own bedtime routine through the magic of storytelling. "Bedtime on Noah's Ark" turns the nightly ritual into a joyous adventure, making it easier for your little critters to embrace sleep like leopards until tomorrow arrives.
🌟 Why Choose "Bedtime on Noah's Ark"?
- ✨ Engaging Illustrations: Captivate your child's attention with vivid and charming illustrations.
- 🌙 Educational and Fun: Instill valuable bedtime habits in a playful and entertaining way.
- 📚 Biblical Charm: Share the timeless story of Noah's Ark with a bedtime twist.
- 🛌 Transition to Sleep: Transform bedtime into a delightful routine for a restful night's sleep.
🌠 Order "Bedtime on Noah's Ark" Today!
Give the gift of enchanting dreams and peaceful nights. Order your copy of "Bedtime on Noah's Ark" now and let the bedtime adventures begin! 🚀🌙
Tasty Treat
Introduction
Fizzlebop Supply List
- 1 cup (2 sticks; 227 g) of unsalted butter, softened
- 1/4 cup (48 g) white sugar
- 3/4 cup (150 g) brown sugar
- 2 eggs
- 1 tsp (5 mL) vanilla
- 1 pkg instant chocolate pudding mix
- 1/4 tsp (1.5 g) salt
- 1 tsp (4.8 g) baking soda
- 2 1/2 cups (300 g) flour
- 1 cup (168 g) caramel M&Ms
- 1/2 cup (112 g) mini semi-sweet or milk chocolate chips
- 1/2 cup (96 g) dark chocolate chunks
- Large mixing bowl
- Small mixing bowl
- Whisk
The Experiment
- Preheat the oven to 350 degrees Fahrenheit (177 degrees Celsius).
- Cream the butter in the large mixing bowl.
- Now add sugars (white and brown) and mix together until light and fluffy.
- Add eggs one at a time, beating well after each.
- Next, mix in the vanilla.
- In the smaller mixing bowl mix together the flour, baking soda, salt, and pudding mix.
- Gradually add the dry ingredients (from the smaller bowl) to the butter mixture (in the larger bowl).
- Slowly mix in the chocolate chips, caramel M&Ms, and dark chocolate chunks.
- Once mixed, scoop 1 in (2.5 cm) diameter balls of cookie dough and place onto a greased cookie sheet.
- Bake at 350 degrees Fahrenheit (177 degrees Celsius) for 12-14 minutes.
- Remove the cookies from the oven and transfer to a cooling rack and let cool.
- Enjoy these marvelous gooey and fizztastic cookies.
Dr. Fizzlebop, What's Happening?
Collecting Your Family’s Data
____________________________________________________________________________________
How did baking the cookies change them?
____________________________________________________________________________________
Who Done It?

Introduction
Fizzlebop Supply List
- 1 drinking glass
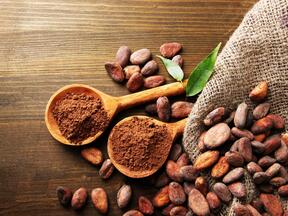
- 5 tbsp (25g) cocoa powder
- New soft-bristle toothbrush
- Scotch tape
- Tan, white, or yellow construction paper
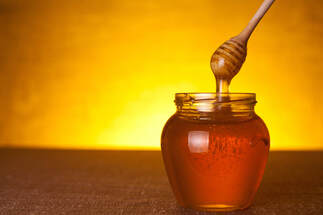
- 1 tbsp (100 g) honey
- Family members (as many as are willing!)
|
|
The Experiment
1. Dab the fingers and thumb on one hand on the surface of the honey.
FIZZ TIP: Clean off any excess honey.
2.Grab hold of the drinking glass with your sticky-fingered hand. Then you can wash off the honey from your fingers.
FIZZ TIP: Make sure each of your fingers and thumb press against the glass.
3. Sprinkle cocoa powder onto the honey prints on the outside of the glass. Use the toothbrush to carefully brush away excess cocoa powder.
4. Tear off one piece of tape per print and place them over the dusted fingerprints.
5. Gently lift the pieces of tape from the glass and stick them on the construction paper. Write your name above your fingerprints.
6. Do this experiment with other family members. Examine each person’s prints and compare your prints with theirs.
7. Now practice a mock crime scene! Secretly select one person to be the suspect.
8. Have the selected person dab honey on the fingers and thumb on one hand.
9. Then have the person grab hold of the drinking glass with your sticky-fingered hand.
10. Now, the detective work begins. Have your team of detectives dust for fingerprints.
11. Sprinkle cocoa powder onto the honey prints on the outside of the glass. Use the toothbrush to carefully brush away excess cocoa powder.
12. Tear off one piece of tape per print and place them over the dusted fingerprints.
13. Gently lift the pieces of tape from the glass and stick them on the construction paper.
14. Analyze the fingerprints by comparing them to the fingerprints taken earlier.
15. Finally declare who the suspect is, but remember they are innocent until proven guilty.
Dr. Fizzlebop, What’s Happening?
FIZZ FACT: See Isaiah 64:8 and Psalm 139:13-14 for more about how God made us each one of a kind
Collecting Your Family’s Data
____________________________________________________________________________________
How do you think dusting for fingerprints is useful for detectives solving mysteries?
____________________________________________________________________________________
Who was the suspect?
____________________________________________________________________________________
How did you decide who the suspect was?
____________________________________________________________________________________
Storing Treasures in Heaven
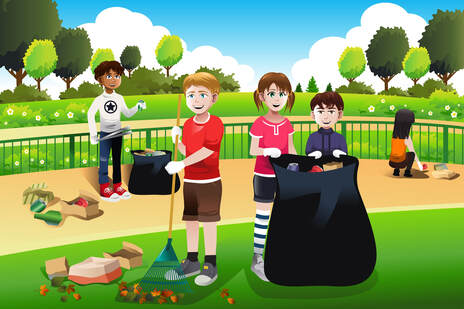
Introduction
Take on this FIZZ EXTRA and share God’s abundant blessings with your neighbors by cleaning up a local park!
Fizzlebop Supply List
- Trash bags
- Gloves
- Trash Picking Tools or Reaching/Grabbing Tools that can get dirty (optional)
- Bottles of water
- Snacks
- Sunscreen
- Bug repellant
- Protective clothing
- Paper towels
- Hand sanitizer
- Friends and family to join you!
The Experiment
2. Contact the person/organization in charge of the park and ask for permission to bring a group to pick up the trash in the park.
3. Schedule a time approved by the park manager to meet your family and friends at the park and clean it up.
FIZZ TIP: Make sure everyone has the necessary supplies for picking up trash and staying safe and healthy.
4. Gather up all the trash in the park! Enjoy spending time with your friends and family in God’s marvelous creation of which He has made us the caretakers.
FIZZ TIP: Race to see who can gather the most trash the fastest! Be sure to still be cautious and not spread out too far from the rest of your group.
5. Dispose of the trash properly and enjoy the results of your work!
FIZZ TIP: Maybe everyone can go for a hike, have a picnic, or enjoy the park’s playset after the cleaning is done.
Collecting Your Family’s Data
____________________________________________________________________________________
How long did it take to clean up the park?
____________________________________________________________________________________
Could you see a difference in the park after you picked up the trash? How did it make you feel?
____________________________________________________________________________________
Clean Clay
Introduction
Fizzlebop Supply List
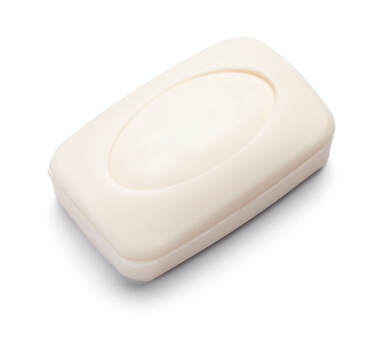
- Bar of Ivory Soap
- Large microwave-safe bowl
- Microwave
- Toilet paper (half a roll if it’s thick paper or one whole roll if it’s thin)
- 1 cup (250 ml) hot water
The Experiment
1. Place the bar of soap in the bowl.
2. Microwave the soap for 2 minutes on high.
3. Observe the growing thunderhead.
4. Wait 2 more minutes for the bowl and soap foam to cool.
5. Remove from the microwave and make some more observations.
FIZZ TIP: The soap still works as soap, so you can use it by breaking off pieces to wash your hands.
6. Now make some clean clay.
7. Put the expanded soap in a container large enough to hold it all.
8. Pour the hot water over it.
9. Stir and squish the soap until most of the lumps are gone.
10. Unroll the toilet paper a few feet at a time and add it to the soapy water.
11. Squish and mix them as you add more paper.
FIZZ TIP: For thick toilet paper, you will only need half a roll. For thin paper, use the whole roll.
12. Squish and mix the Clean Clay, breaking up lumps, until it is the texture of clay.
13. Then sculpt a magnificent masterpiece.
14. After you’re finished, clean your hands just by washing them in the sink. You already have soap on your hands!
“Dr. Fizzlebop, what’s happening?”
Pouring hot water over the expanded soap made it soft enough to mix with the toilet paper. The toilet paper in turn absorbed the water and left you with a clay-like texture to mold and sculpt!
Collecting Your Family’s Data
____________________________________________________________________________________
What did the soap feel like (once it cooled down) compared to how it felt in bar form? What changes (if any) did you notice in smell?
____________________________________________________________________________________
How long did it take to transform the soap into clay?
____________________________________________________________________________________
What did the clay feel like?
____________________________________________________________________________________
What shapes did you make with the clay?
____________________________________________________________________________________
Mummy Hop
Introduction
Fizzlebop Supply List
2. Measuring tape
FIZZ TIP: Cheap toilet paper is best, because it will rip more easily.
The Experiment
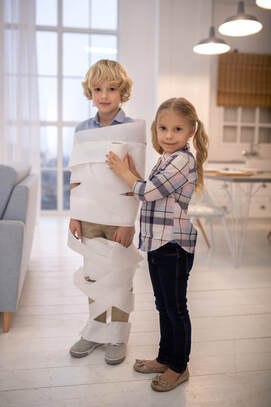
2. Give each team one roll of toilet paper
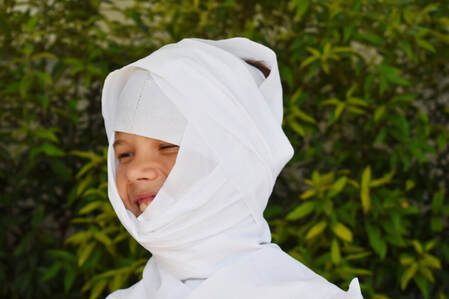
3. Teams choose one person to be the ‘mummy’
4. Unroll some toilet paper to make a start line, then measure out about twenty feet, and put down some more toilet paper for the finish line
FIZZ TIP: We suggest conducting this race out in an open grassy area, as mummies may trip and fall. Safety First!
5. When the judge says, "Start," the teams can begin wrapping their mummies.
6. When the mummy is wrapped head to toe and all the toiler paper has been used, the
Pharaoh can tell them to go.
7. Mummies then hop their way to and across the finish line.
8. The team of the mummy that reaches the finish line, and still has most of their wrappings (toilet paper) on, wins!
FIZZ TIP: The Pharaoh will be the judge if there is a close finish
Fizz Fact:
Collecting Your Family’s Data
____________________________________________________________________________________
Did you have any issues when wrapping your mummy?
____________________________________________________________________________________
If you were the mummy, describe what it was like to be wrapped in the toilet paper.
____________________________________________________________________________________
If you were the mummy, describe what it was like to hop to the finish line while all wrapped up.
____________________________________________________________________________________
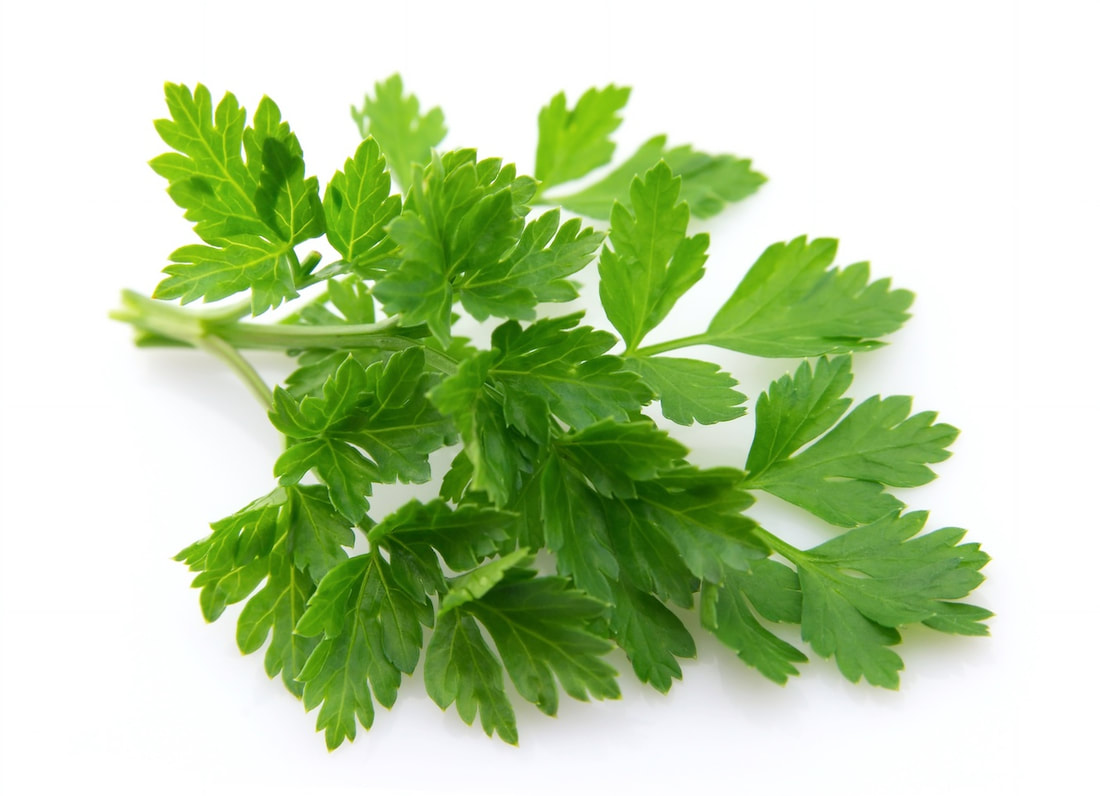
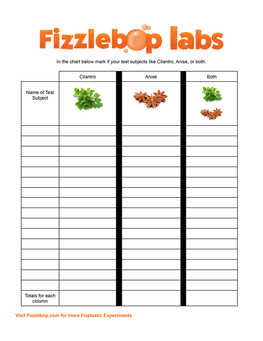
Cilantro versus Anise
Introduction

Fizzlebop Supply List
- Bundle of cilantro
- Black licorice (be sure it contains anise)
- Fizzlebop Labs: Cilantro versus Anise Chart (below)
The Experiment
- Print the Fizzlebop Labs: Cilantro versus Anise Chart (below)
- Set out a plate with one small piece of black licorice and one leaf of cilantro, per person (test subject)
- Have your test subjects try the licorice
- Observe their reaction
- Have your test subjects try the cilantro
- Observe their reaction
- Ask your test subjects if they liked cilantro, anise, or both, then note in your chart
“Dr. Fizzlebop, What’s Happening?”
Collecting Your Family’s Data
____________________________________________________________________________________
How often did people like both cilantro and anise?
____________________________________________________________________________________
St. Nicking at Night
Introduction
Fizzlebop Supply List
- Family, friends, or a community group
- A family or person who could use a little extra Christmas cheer
The Experiment
- First ask your church or a local shelter to find a family in need this Christmas.
- Be sure to ask the church or shelter for the names and ages of each family member.
- If possible, find out clothing sizes (shirts, pants, shoes, etc), any specific interests (books, princesses, cars, penguins), and specific needs (winter hats, school shoes, Bible, or water heater).
- Next, invite your friends and family to your house for a St. Nick party.
- Assign one member from the family you’re going to bless to each family invited to your party.
- Next read the story of St. Nicholas aloud.
FIZZ TIP: We recommend The Legend of St. Nicholas: A Story of Christmas Giving by Dandi Daley Mackall - With family members assigned and a list of suggested items in hand, everyone heads out to shop.
FIZZ TIP: We suggest 1 to 1 ½ hours for shopping. - When everyone arrives back, the wrapping party begins.
FIZZ TIP: It’s a Christmas party too, so have everyone bring cookies to share.
FIZZ TIP: The key to a successful St. Nicking is the anonymity of it just like St. Nick. We want our kids to understand that these gifts are given without receiving credit. - Now it’s time to deliver the gifts. If you have the address of the family, send one car to deliver the gifts to the front door. The key is to not be seen, so ring the door bell and leave before they answer. If you do not have the address, ask the church or shelter to deliver the presents to the family without revealing who you are.
“Dr. Fizzlebop, What’s Happening?”
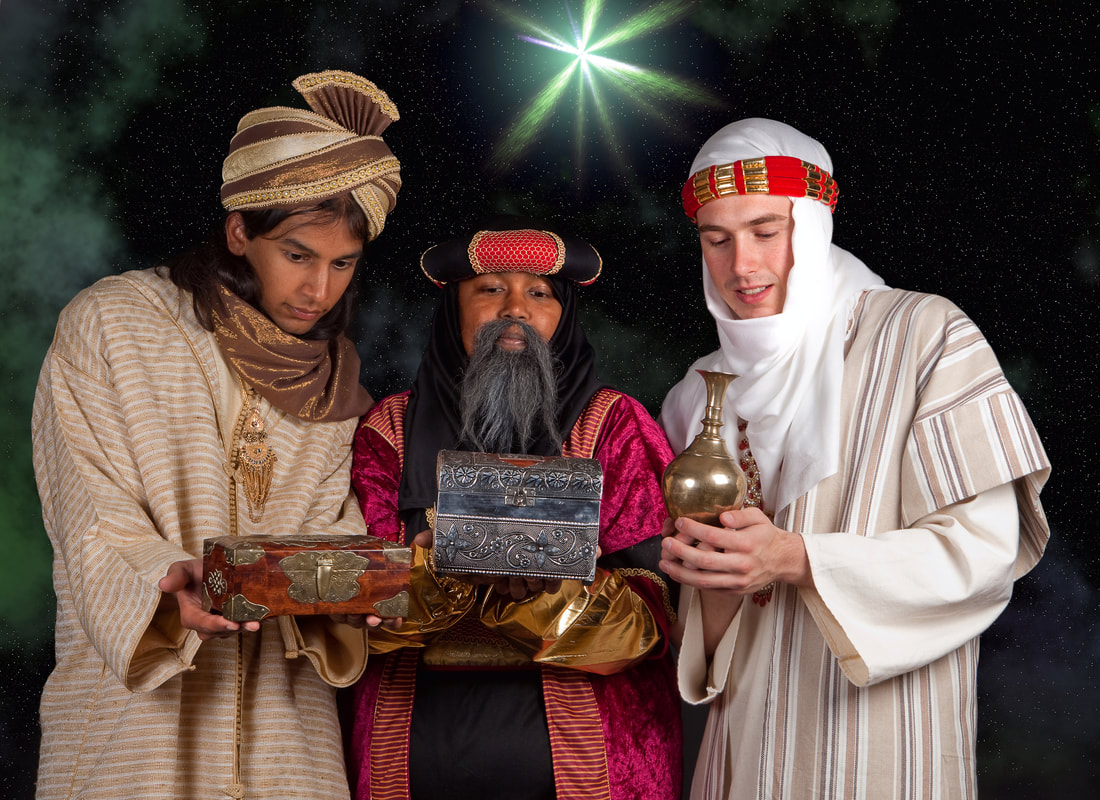
Behind all the legends of St. Nick, Father Christmas, and Santa Claus, stands a young orphan who was likely born in modern-day Turkey late in the 3rd century and who became the Bishop of Myra. Legend says that Nicholas, a faithful Christian from a young age, used his inheritance (money left to him by his parents) to help the poor and needy around him. According to a popular story, Nicholas learned of three girls whose father couldn’t afford to give them dowries. Without dowries, the girls couldn’t get married, and at that time unmarried women faced awful lives of poverty. So, on three different nights, Nicholas crept up to their house and threw a bag of gold in their window. The gold landed in shoes and stockings the family had left to dry by the fire. Beloved for his generosity and special care for children, legends about Nicholas spread, and he became known as Saint Nicholas. The day of his death, December 6th, was set aside to remember him. His story traveled to North America in the 1700s with Dutch immigrants, who gave Nicholas the nickname Sinterklaas. “Sinterklaas” transformed into today’s “Santa Claus.”
Christmas is known as a season for giving gifts. Of course, the greatest gift is from God, who sent our Savior, His Son Jesus, to be born in Bethlehem. The Wise Men honored this gift by bringing their own gifts to Jesus. While we can’t bring Jesus material presents today, we can still give gifts that honor Him. Read Matthew 25:31-46. In a way, completing this FIZZ EXTRA is like giving a gift to Jesus Himself! And as a bonus, you also got to honor the memory of St. Nicholas, a generous man of God.
Collecting Your Family’s Data
____________________________________________________________________________________
What did you like about St. Nick’s story?
____________________________________________________________________________________


Fizzlebop Family Advent Calendar Idea
- Decorate for Christmas
- Make a Christmas craft
- Open a new Christmas book
- Have a sleepover with friends
- Go on a hot cocoa date
- Hang Christmas lights outside
- Make and deliver cookies to the local fire or police department
- Bell ringing for the Salvation Army
- Visit Santa
- Have a family fun night. Eat at a restaurant or go play at an activity park
- Host or attend St. Nicking event
- Go watch the Nutcracker
- Enjoy ice skating outdoors
- Christmas shopping for siblings
- Go see Christmas lights
- Christmas parade
- Watch a new Christmas movie
- Receive a Christmas activity book
- Bake Christmas cookies
- Make Christmas ornaments
- Present wrapping party
- Have a fancy dinner at home with your kids
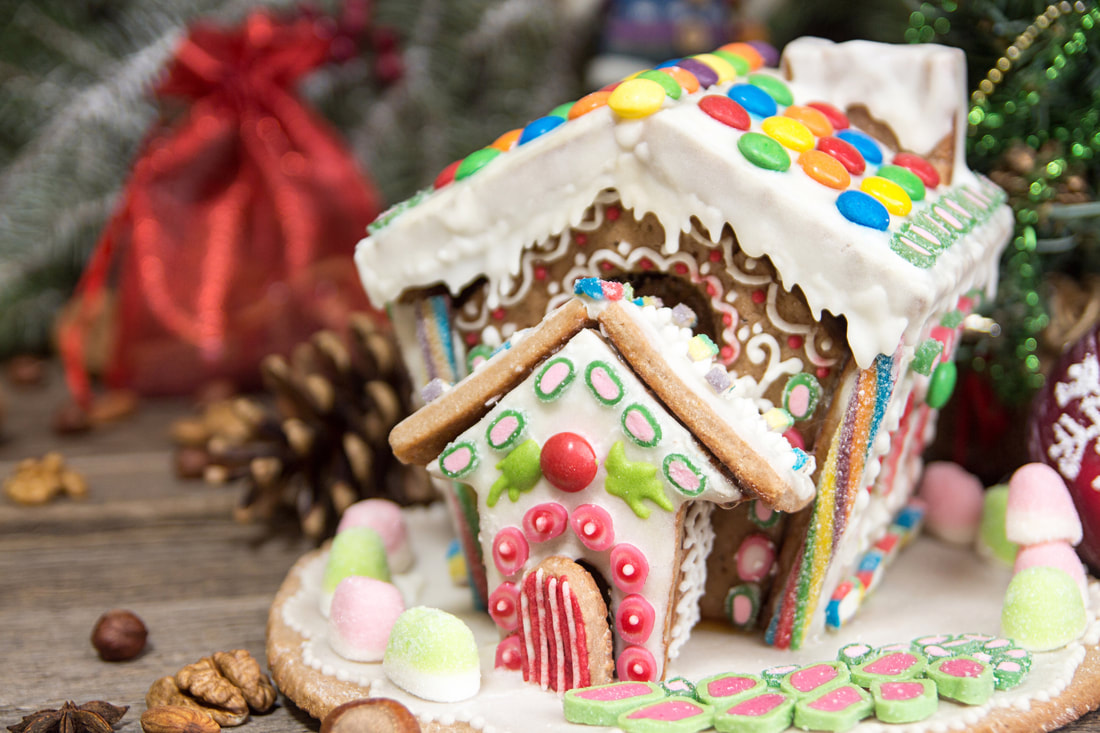
- Build a Gingerbread house
- Open new Christmas Pajamas
- Bake a birthday cake for Jesus (Christmas Day)